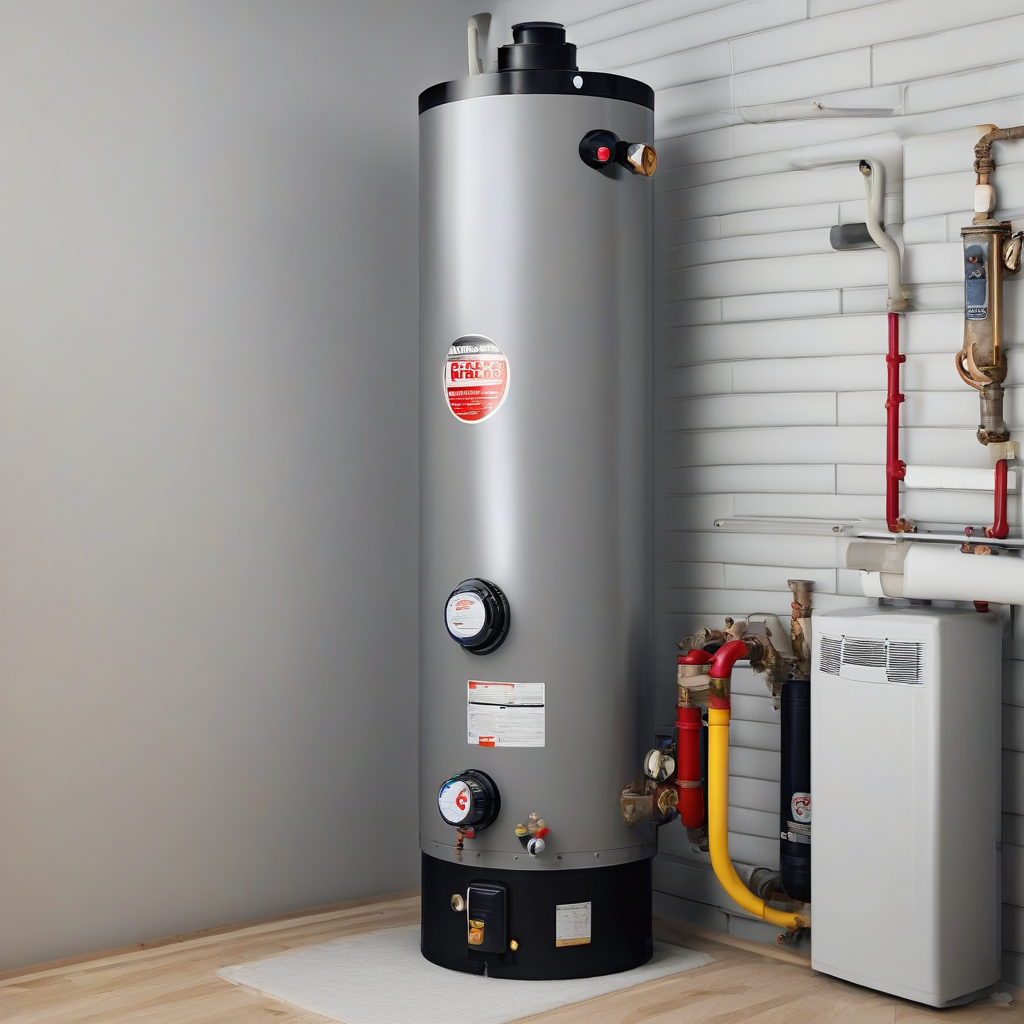
Hot Water Heater Replacement: A Comprehensive Guide
Replacing a hot water heater is a significant home improvement project that requires careful planning and execution. This guide will walk you through every step of the process, from identifying the need for replacement to ensuring proper functionality after installation.
1. Recognizing the Need for Replacement
Several signs indicate your hot water heater is nearing the end of its lifespan or needs immediate replacement:
- Age: Most gas water heaters last 10-15 years. If your heater is older than this, it’s likely nearing the end of its useful life and prone to failure.
- Leaks: Any leaks, no matter how small, are a serious concern. Leaks can indicate corrosion, a cracked tank, or other internal damage. Ignoring leaks can lead to significant water damage and costly repairs.
- Rust or Corrosion: Examine the exterior of your water heater for signs of rust or corrosion. This is a clear indicator of internal deterioration and impending failure.
- Sediment Buildup: Sediment accumulates at the bottom of the tank over time, reducing efficiency and potentially leading to premature failure. Noisy operation (gurgling or rumbling) often indicates significant sediment buildup.
- Reduced Hot Water Supply: If your hot water runs out quickly or doesn’t heat up sufficiently, your water heater may be failing to meet your household’s demands due to reduced capacity.
- Unusual Noises: While some gurgling is normal, excessive banging, popping, or rumbling sounds indicate potential problems that should be addressed immediately.
- Pilot Light Issues: Frequent pilot light extinguishment requires constant relighting and points to a malfunctioning thermocouple or gas valve.
- Increased Energy Bills: If your energy bills are suddenly higher than usual, it could be due to an inefficient or malfunctioning water heater.
2. Choosing the Right Replacement Water Heater
Selecting the right replacement requires considering several factors:
- Tank vs. Tankless: Tank water heaters store hot water, while tankless heaters heat water on demand. Tankless units are more energy-efficient but generally more expensive upfront. Consider your hot water usage and budget when making this decision.
- Size/Capacity: The capacity of the water heater (measured in gallons) should match your household’s hot water needs. A larger family or frequent hot water use requires a larger capacity tank.
- Fuel Type: Gas water heaters are commonly preferred for their efficiency and lower operating costs compared to electric heaters. However, natural gas availability is a prerequisite.
- Energy Efficiency: Look for a water heater with a high Energy Factor (EF) rating. This indicates how efficiently the heater converts energy into hot water. Higher EF ratings mean lower operating costs.
- Features: Consider features like digital displays, programmable timers, and self-diagnostic capabilities for enhanced convenience and control.
- Warranty: A good warranty provides assurance against manufacturing defects and can save you significant expenses in case of premature failure.
3. Preparing for Installation
Before starting the installation, several preparations are crucial:
- Turn Off the Gas Supply: Locate the gas shut-off valve and turn it completely off. This is a crucial safety precaution to prevent gas leaks.
- Turn Off the Water Supply: Shut off the cold water supply lines connected to the water heater. Locate the shut-off valves and ensure they are completely closed.
- Drain the Water Heater: Connect a garden hose to the drain valve at the bottom of the water heater and drain the tank completely. This will prevent spills and make the removal process easier.
- Disconnect Electrical Connections (if applicable): If your water heater has an electrical element, disconnect it from the power supply.
- Gather Tools and Materials: Gather all the necessary tools, including wrenches, adjustable pliers, a level, pipe sealant, and any other items specified by the manufacturer’s instructions.
- Check Local Codes and Permits: Check your local building codes and regulations to determine if permits are required for water heater installation. Obtaining the necessary permits ensures compliance and avoids potential fines.
- Prepare for Disposal: Properly dispose of the old water heater according to your local regulations. Many recycling centers accept old appliances, including water heaters.
4. Installing the New Water Heater
The installation process generally involves the following steps:
- Position the New Water Heater: Carefully position the new water heater in its designated location, ensuring it’s level and has adequate clearance for maintenance and access.
- Connect the Gas Line: Connect the gas line to the new water heater, ensuring a tight and leak-free connection. Use appropriate pipe sealant and follow manufacturer’s instructions meticulously.
- Connect the Water Lines: Connect the cold and hot water supply lines, ensuring secure connections and using pipe sealant to prevent leaks. Properly tighten the connections to prevent leaks.
- Connect the Drain Line: Connect the drain line to the new water heater, making sure it’s securely attached and properly sloped to facilitate drainage.
- Electrical Connections (if applicable): Connect the electrical wiring according to the manufacturer’s instructions. Ensure proper grounding and adherence to electrical codes.
- Turn on the Gas Supply and Water Supply: Carefully turn on the gas supply and water supply valves, checking for leaks at all connections.
- Check for Leaks: Thoroughly inspect all connections for leaks. Address any leaks immediately to prevent potential damage.
- Test the Water Heater: Turn on the hot water taps in your house to purge the air from the lines and check if the water is heating correctly. Monitor the temperature and water pressure.
- Flush the Tank (if necessary): Depending on the manufacturer’s recommendations, you may need to flush the new tank to remove any debris or sediment.
5. Post-Installation Maintenance
Regular maintenance prolongs the lifespan of your new water heater and ensures its optimal performance:
- Annual Flushing: Flush the tank annually to remove sediment buildup. This improves efficiency and reduces the risk of premature failure.
- Anode Rod Inspection: Inspect and replace the anode rod as needed. The anode rod protects the tank from corrosion, and its replacement frequency depends on water conditions.
- Inspect for Leaks: Regularly inspect the water heater for leaks and address any issues promptly.
- Monitor Temperature and Pressure: Keep an eye on the water temperature and pressure to ensure they’re within the recommended range.
- Gas Line Inspection: Regularly inspect the gas line for any signs of damage or leaks. Address any issues immediately.
6. Troubleshooting Common Problems
Even with proper installation, some problems may arise. Here are solutions for common issues:
- No Hot Water: Check the gas supply, water supply, and circuit breaker. Ensure the pilot light is lit (for gas water heaters).
- Leaking Water Heater: Inspect all connections for leaks. Check for corrosion or damage to the tank itself. A leaking tank requires replacement.
- Insufficient Hot Water: The water heater may be too small for your household’s needs. Consider upgrading to a larger capacity tank.
- Noisy Water Heater: Excessive rumbling or banging may indicate sediment buildup. Flush the tank to remove sediment. If the noise persists, professional assistance may be required.
- Pilot Light Issues: A constantly extinguishing pilot light may indicate a problem with the thermocouple or gas valve. Professional repair or replacement may be necessary.
7. When to Call a Professional
While many aspects of water heater replacement can be tackled by homeowners with DIY skills, there are instances where professional help is crucial:
- Lack of Experience: If you lack experience with plumbing and gas lines, it’s best to hire a qualified plumber.
- Complex Installations: For complex installations involving unusual plumbing configurations, professional expertise is advisable.
- Gas Line Issues: Working with gas lines requires specialized knowledge and safety precautions. It’s best to leave gas line work to professionals.
- Persistent Problems: If you experience persistent problems after attempting DIY repairs, it’s recommended to seek professional assistance.
- Safety Concerns: Always prioritize safety. If you’re unsure about any aspect of the installation, call a qualified plumber.
8. Cost Considerations
The cost of replacing a hot water heater varies depending on several factors:
- Type of Water Heater: Tankless water heaters typically cost more upfront than tank water heaters.
- Size/Capacity: Larger capacity water heaters generally cost more.
- Features: Advanced features, such as digital displays and programmable timers, increase the cost.
- Installation Costs: Labor costs vary depending on location and the complexity of the installation.
- Permits and Inspections: Permitting fees and inspection costs vary by locality.
- Disposal Fees: Fees for disposing of the old water heater may apply.
Careful planning, thorough research, and adherence to safety precautions are key to a successful hot water heater replacement project. While DIY installation is possible for many homeowners, don’t hesitate to call a qualified professional when necessary to ensure safety and optimal performance.